I love color- from bright pink nail polish, to a smoky purple eye, to a vibrant red lip- but there's something about a nude and beige makeup look that feels so comfortable and brings out a sort of "prettiness" in everyone. Nude colors, or neutrals as they are otherwise called, are colors that resemble different skin tones and shades that compliment your existing skin tone, enhancing your existing features to create that "no makeup" makeup look. It's an easy way to put together a look without the guess work of what color goes with what, and using neutral colors are great for a put together, on the go look for those busy moms out there. I feel you ladies- a toddler that won't sit still and the infant that screams at your feet, begging to be picked up, all while you're trying desperately to put some kind of makeup on to hide the sleepless night you thought would never end! And if you're not a mom, well, just wait, your turn will come ;) Here are my top picks for neutrals:
Eyes
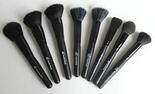
When using neutrals on the eye, think soft earth tones and the varying shades of skin tones that we see all around us. Browns to use in the crease to create depth in the eyes and cool tone shimmers to highlight the brows and inner tear ducts to make your eyes pop and appear larger.
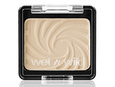
| BH Cosmetics 28 Color Neutral Palette 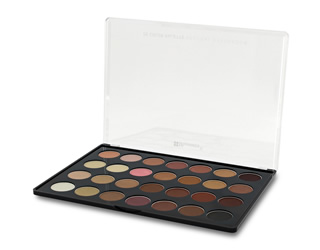 | Wet n Wild Trio in Walking on Eggshells 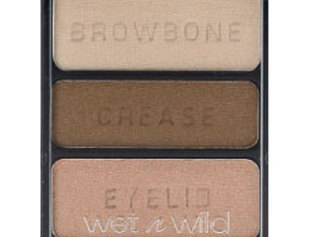 |
Makeup Geek Eyeshadows in Creme Brûlée, Cocoa Bear, Beaches & Cream, and Vanilla Bean
 |  |  |  |
Urban Decay Naked 2 Palette

Cheeks
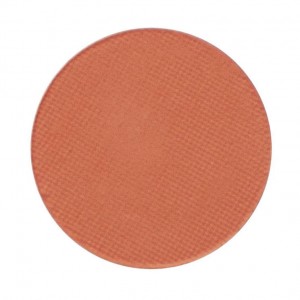
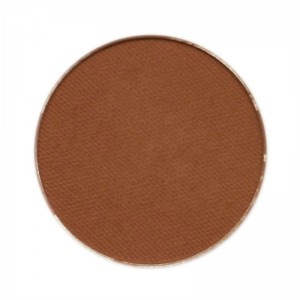
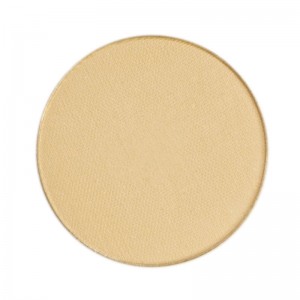
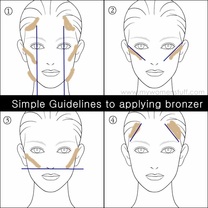
When using neutrals, coral and bronzy colors for the cheeks are great at adding color and also to sculpt the cheekbones.
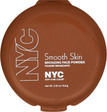
| E.l.f Candid Coral Blush  | NYC Bronzer in Sunny (also great as an eyeshadow) 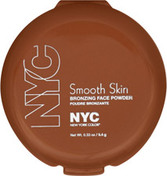 | BH Cosmetics 10 Color Blush Palette (coral and earth tone colors) 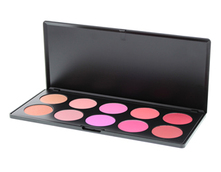 | Anastasia of Beverly Hills Contour Kit 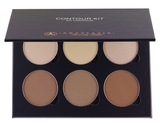 |
Lips
Nude lips doesn't necessarily mean no color- think of it as your lips, but better! You can enhance your natural skin color by wearing a lip color 1 to 2 shades darker than your natural skin shade, or make a bold move with a darker earthy tone color for a more dramatic look.
| MAC Blankety 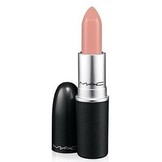 | NYX Whipped Caviar 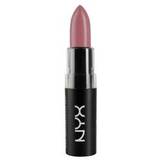 | NYX Tiramasu Butter Gloss 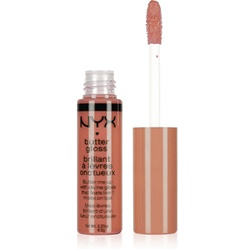 | MAC Diva 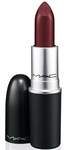 |
I love, love, LOVE nudes!! Flattering on any skin type, color, and face shape- it really is the universal go to look for fool proof, no brainer, beautiful makeup. It's also a great way to incorporate a bright color against a neutral backdrop. So when in doubt, just stay in the nude ;)


 RSS Feed